

Last updated September 28, 2026
Why the surface matters more than the adhesive
Tape and glue can only be as good as the scalp underneath them. Adhesive bonds to skin, not to oil, sweat, product, or moisture, so any of those between your scalp and the bond is a weak seam waiting to open. When a hair system lifts at the front or the perimeter early, the adhesive is rarely the culprit. The prep is.
Get the surface right and an average adhesive holds well. Get it wrong and even the strongest bond fails within days. Everything below is the routine we teach in the chair, and the same sequence we point men back to when a bond is not lasting.
The prep sequence, step by step
Run these in order. The timing on the wash and the dry is the part most people shortcut, and it is the part that matters most.
- Wash a few hours ahead, not right before. Shampoo the scalp with a clarifying or residue free cleanser to strip oil and old product, rinse well, and give the skin two to three hours to settle so its natural oils are clean but not stripped raw.
- Dry the scalp completely. Towel dry, then finish with a cool blow dryer until the skin is fully dry to the touch, including the hairline and behind the ears. Even a faint bit of damp will keep adhesive from grabbing.
- Wipe with alcohol if your skin runs oily. A quick pass with a scalp prep or 99 percent isopropyl swab over the bond area removes the last of the surface oil. Let it flash off for thirty to sixty seconds before the next step.
- Apply a thin scalp protector. A light, even coat of scalp protector across the whole bond area lays down a barrier layer between adhesive and skin. It shields sensitive skin, gives the adhesive a consistent surface to grip, and makes removal cleaner later. Let it dry until it is tacky, not wet.
- Trim the perimeter hair short and even. Any of your own hair inside the bond zone should be trimmed close so the base sits flat against skin, not on top of stubble. Uneven perimeter hair lifts edges and telegraphs the base outline.
- Do a final clean check. Look and feel for stray hairs, lint, or shine from missed oil. The bond area should read matte, dry, and smooth before a single piece of tape or drop of glue goes down.
Washing a few hours ahead, not right before
This trips people up because it feels backward. You want the scalp clean, so the instinct is to shower and attach immediately. The problem is that skin fresh out of a hot shower is warm, slightly swollen, and still releasing moisture and oil for a while afterward, none of which the adhesive likes.
Washing two to three hours ahead gives you the best of both. The oil and product are gone, but the skin has cooled and normalized, so the surface is stable when the bond goes down. If your mornings are tight, wash the night before and simply do the alcohol wipe and protector fresh at attachment time.
Why a fully dry scalp is non negotiable
Adhesive and water do not mix. A scalp that looks dry but still holds a little moisture in the hairline or around the ears is the single most common reason a new bond releases early. Blow the area cool and dry until there is no cool, damp feeling anywhere in the bond zone.
Heat matters too. A scalp still hot from the dryer or shower will sweat under the base as it cools, which lifts the bond from underneath. Dry it, then let it return to normal temperature before you attach.
The scalp protector barrier layer
Scalp protector is a thin liquid you brush or dab over the bond area and let dry to a tacky film. It does three things at once. It puts a protective layer between adhesive and your skin, it gives glue and tape a uniform surface to key into for better hold, and it makes removal gentler because the adhesive grips the protector rather than raw skin.
Use it thin and even. A heavy, gloopy coat stays wet underneath and undermines the bond you are trying to build. One light pass, dried until tacky, is the target. If your skin is sensitive or you have had adhesive reactions in the past, tell us at your appointment and defer any skin irritation questions to a physician. We can build the barrier and adhesive choice around what your skin tolerates.
Perimeter trimming and a clean edge
The bond zone should be your scalp and the base, with as little of your own hair in between as possible. Trim any hair inside the attachment area close and even so the base lies flat against skin. Hair caught under the perimeter creates tiny gaps that let sweat and air in, and those gaps are where lifting starts.
This is also where a natural looking edge is won or lost. A flat, close trimmed perimeter lets the base sit down invisibly, while stubble under the edge props it up and shows the outline. If you are not comfortable trimming your own perimeter, this is a two minute job at a maintenance visit, and we are glad to do it or show you how.
When the bond still will not hold: common causes and fixes
If you have run the full prep and a bond is still lifting, the fix is almost always one of a short list of surface issues. Work through these before you blame the adhesive or the unit.
- Lifting at the front within a day or two: the scalp was not fully dry, or it was still warm at attachment. Fix by drying longer and letting the skin cool before you bond.
- Edges peeling by afternoon: oil broke through. Add or repeat the alcohol wipe before the protector, especially if your skin runs oily or you sweat heavily.
- Bond feels weak from the start: the scalp protector went on too thick and stayed wet underneath. Fix by using one thin, even coat dried until tacky.
- Perimeter popping up: your own hair is trapped under the edge. Fix by trimming the perimeter closer and even so the base sits flat.
- Hold fades fast in heat: heavy sweating is loosening the bond. Prep is only part of this one, so also see our pages on scalp health and attachment methods for adhesives built for high sweat.
How we set you up in the studio
At your appointment we do this prep with you the first few times so the sequence becomes muscle memory. Nico Rigano, Ivette Rigano, and Denisse Diaz each walk men through the exact wash timing, dry, protector, and trim for their skin and climate, because a scalp in a Peoria, Arizona summer sheds sweat differently than one heading into a humid Eighty Four, Pennsylvania stretch.
The goal is that you can reproduce a clean, dry, protected surface at home every time. Once the prep is second nature, the bond does what it is supposed to do without you thinking about it.
Real work
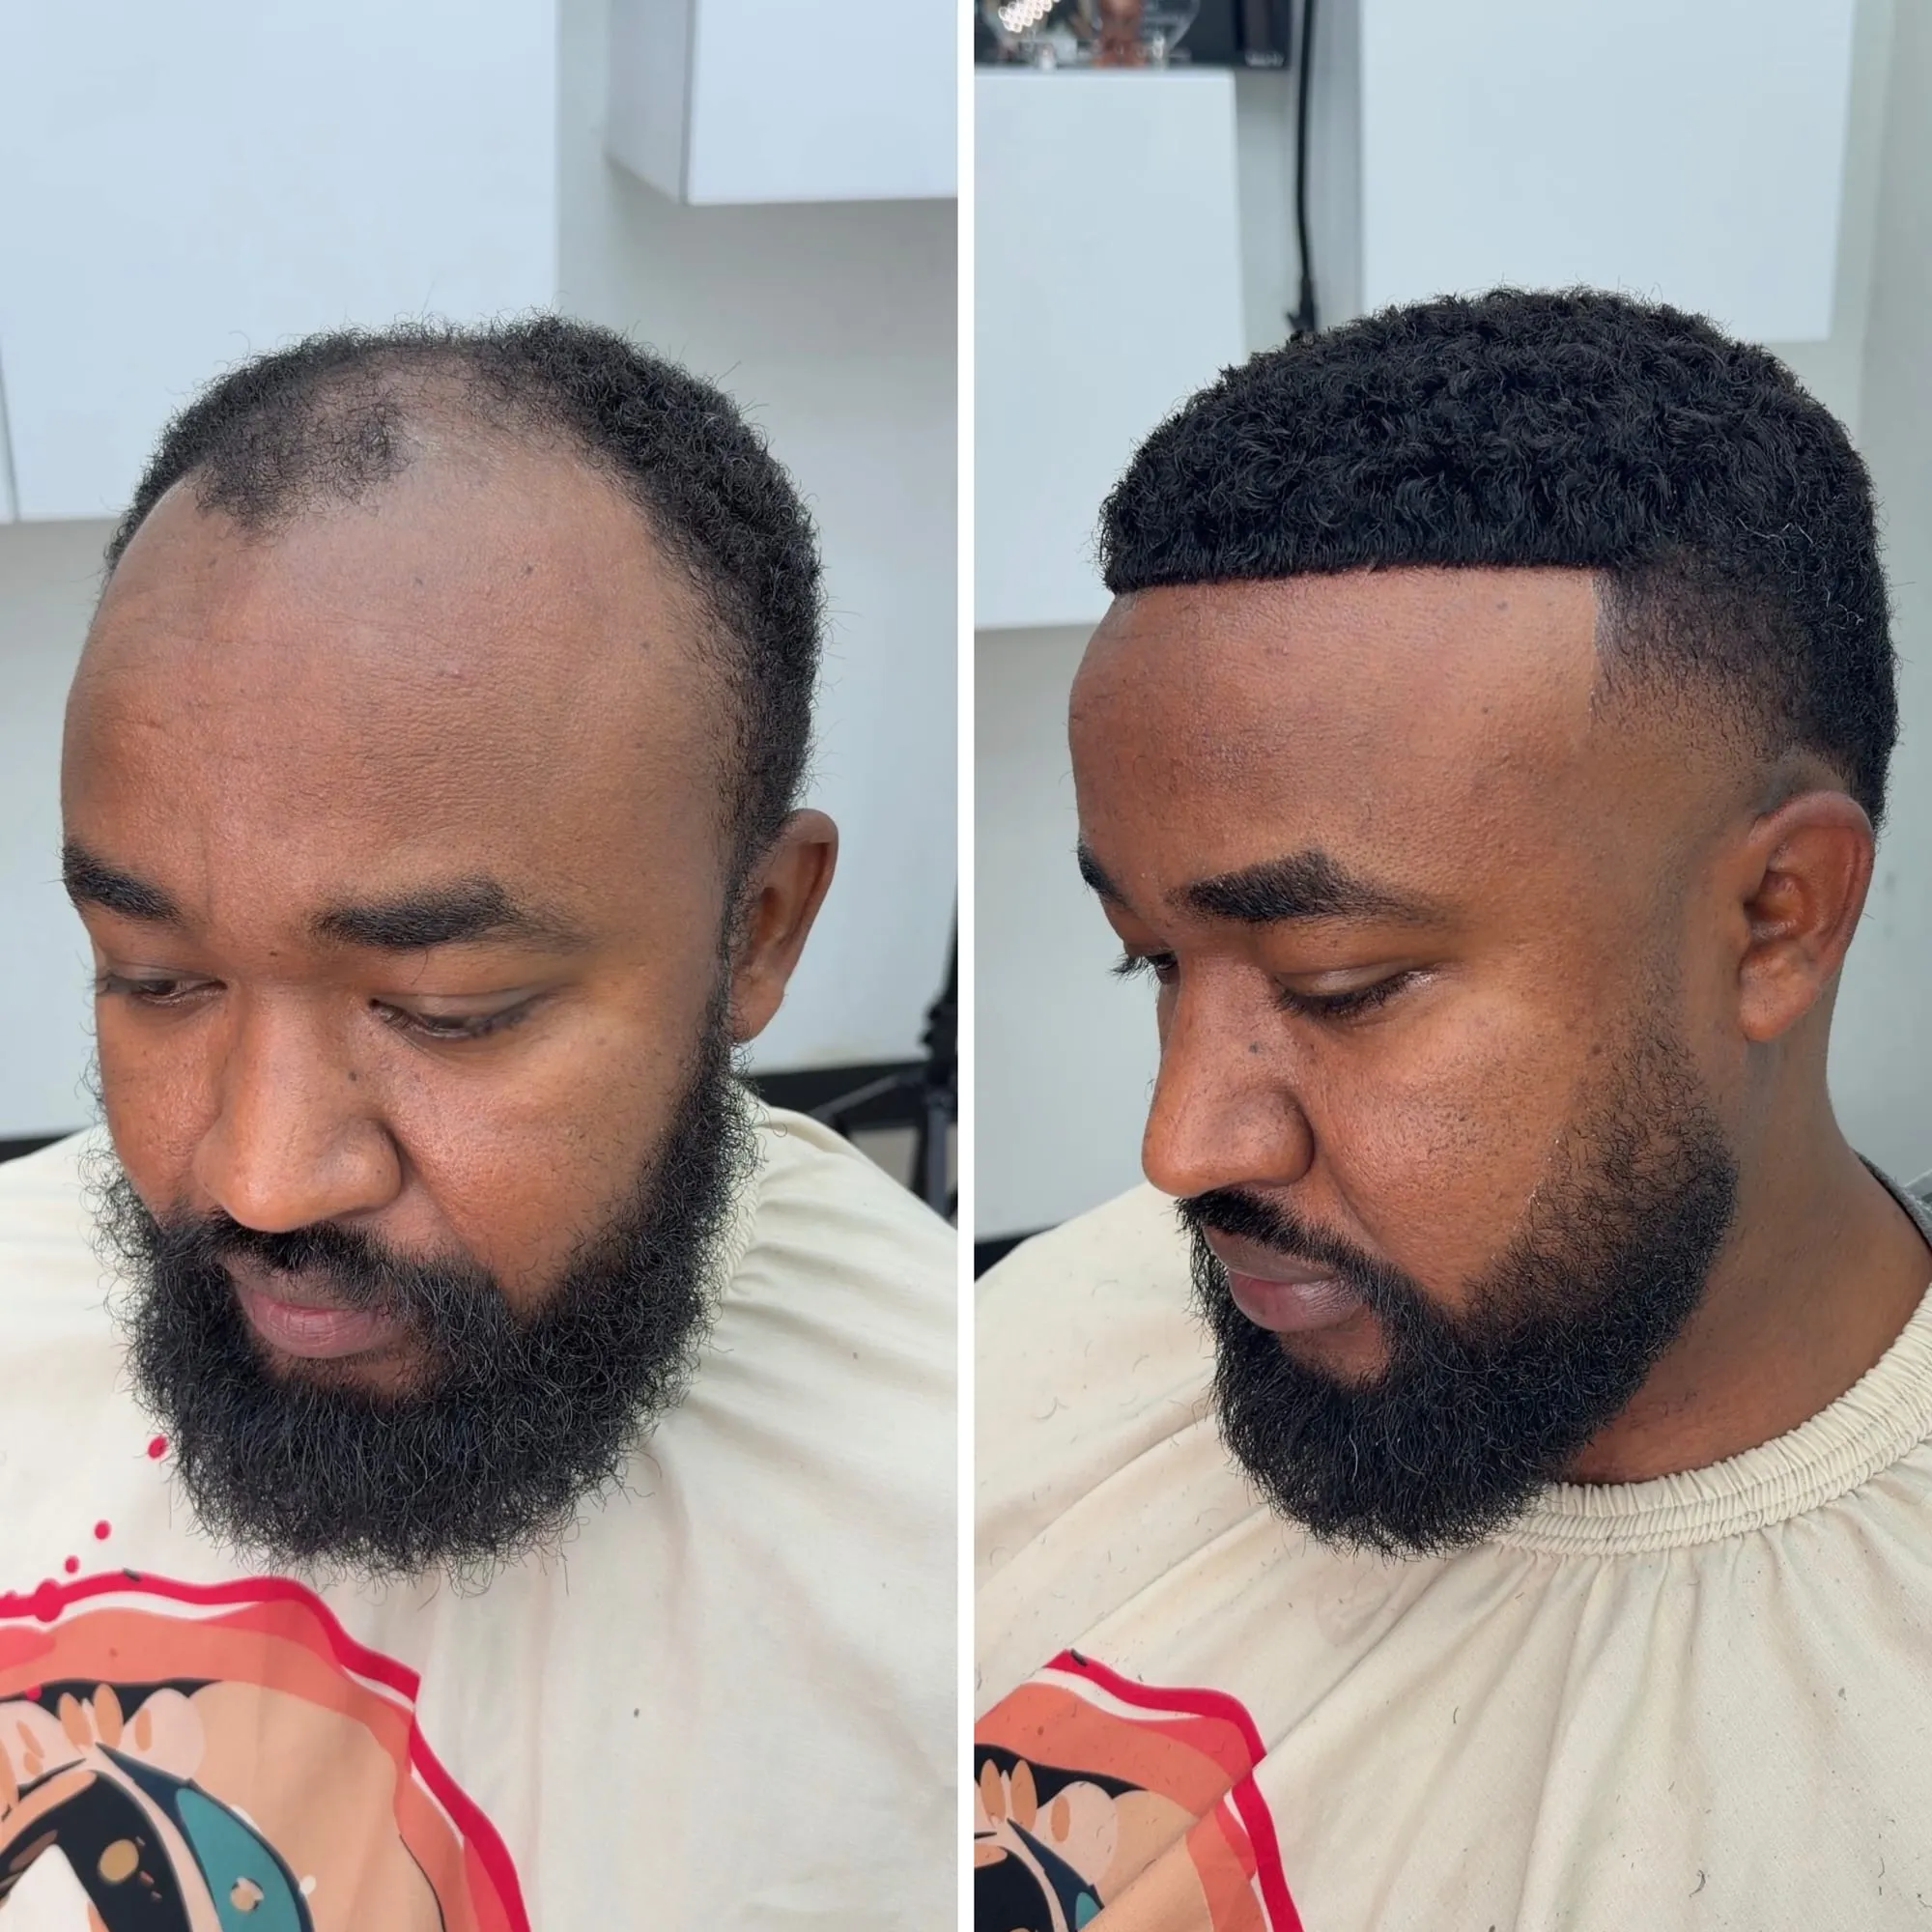
This is what it looks like.
A real client from our chair, photographed before and after his hair system was installed and cut in.
Questions, answered.
How long before attaching should I wash my scalp?
Two to three hours ahead is the sweet spot. That clears oil and product but lets the skin cool and normalize so the surface is stable when the bond goes down. If mornings are tight, wash the night before and do a fresh alcohol wipe and scalp protector at attachment time.
Do I really need my scalp fully dry?
Yes. A scalp that still holds a little moisture in the hairline or around the ears is the most common reason a new bond releases early. Blow the bond area cool and dry until nothing feels cool or damp, then let the skin return to normal temperature before you attach.
What does a scalp protector actually do?
It lays a thin barrier layer between adhesive and your skin. That shields sensitive skin, gives the adhesive a consistent surface to grip for a stronger hold, and makes removal gentler later. Apply one thin, even coat and let it dry until tacky, not wet.
Should I trim my own hair before attaching?
Trim any of your own hair inside the bond area short and even so the base sits flat against skin. Hair trapped under the perimeter creates gaps that let in sweat and air, which is where lifting and a visible edge start. We can do this at a visit or show you how.
My bond keeps lifting even after I prep. What am I missing?
Almost always a surface issue: the scalp was not fully dry, still warm, had oil breaking through, or the protector went on too thick. Work through the drying, an alcohol wipe, a thin protector coat, and a closer perimeter trim before blaming the adhesive or the unit.
Keep reading
Related guides.
Attachment Methods
Tape, bonding, and clip attachment for hair systems compared by hold, comfort, and how they suit your routine. How to attach a hair system.
Tools & Supplies
The categories of tools and supplies a hair system barber needs, and how to choose each one, with no brand endorsements and no prices.
Scalp Health
How to keep the scalp under a hair system clean and healthy. Cleaning, breathability, and the early signs worth acting on. No scare tactics.
Hair System Maintenance
How to keep a hair system clean, secure, and natural: your at home routine, the maintenance schedule, and what a studio visit covers.